Potato growing methods at home
Potatoes have been a staple in our diet for many years. Besides the fact that it tastes good, it also contains many essential amino acids and is fast filling. It is not surprising that many gardeners set themselves the goal of growing a home crop of this vegetable. And the goal implies questions. Let's figure out how to grow potatoes at home.

Potato growing methods at home
Growing methods
The first step is to choose a growing method. Today there are many options:
- seed growing;
- tuberous;
- from parts of the fruit.
Seminal
Planting seeds is a great alternative solution. If you choose this option, it is recommended to buy seeds from specialized stores, otherwise you risk the quality of the crop.
Seed potatoes sprout a little later than when planted with tubers, but the plants are stronger and the yield of such a plant is much higher.
Tuberous
The most common options are planting whole tubers. Seed material is chosen of medium size, the tubers should be approximately the same in size and always of high quality (without rot and damage).
From parts of the fruit
When cutting a potato, you need to leave at least 2 eyes on each half. It is important to ensure that the eyes are fully formed, otherwise the plant will not sprout for a long time, and will be more susceptible to cold and disease.
Preparing for landing
Growing potatoes at home is easiest to do according to the classical method.
It is recommended to prepare the soil in the fall. Before planting, the land is cleared of weeds and pests. Then it is dug up and fertilized with manure, compost or purchased fertilizers with phosphorus and potassium. In case you have heavy soil, for a good harvest you need to add ash or lime in the fall.
It makes no sense to use nitrogen fertilizers until spring, as they quickly dissolve. But when plowing in the spring, they are a must. Urea can be used as such a top dressing.
Landing methods and technologies

Seedlings in a bucket
The abundance of methods for growing potatoes at home allows you to choose the option that suits you best. The most common method to grow potatoes is hole potatoes. All gardeners are familiar with him. But it is worth paying attention to other technologies:
Dutch method
It means planting prepared tubers ten cm deep and covering them with earth after sprouts appear. In fact, the method is not particularly different from the classical one, but such a technology better protects the plant from frost, and therefore increases the yield.
In the straw
This method will provide the moisture necessary for the vegetable, therefore it is optimal for arid areas.Tubers are laid out on the prepared moist soil, and a 30-centimeter layer of straw is superimposed on top. The appearance of mice is likely.
Slide
Finished tubers are planted in the form of a circle in the holes with fertilizer. Above, an earthen embankment is created with a depression necessary for irrigation.
Without beds
It is used if there is not enough space to create full-fledged beds. A pit, 50 cm deep and a meter in diameter, is covered with humus, on which potato tubers are placed. From above, they are covered with compost and watered. Periodically, you will have to add humus.
Under the film
The entire area allocated for planting potatoes is covered with a thick film with incisions. Tubers are planted in them at a standard depth and watered if necessary.
Without hilling
If you don't have time to properly care for your garden beds, this method is for you. Seedlings can be grown in cold weather, planted in the ground at the first heat. The harvest appears very quickly.
In containers
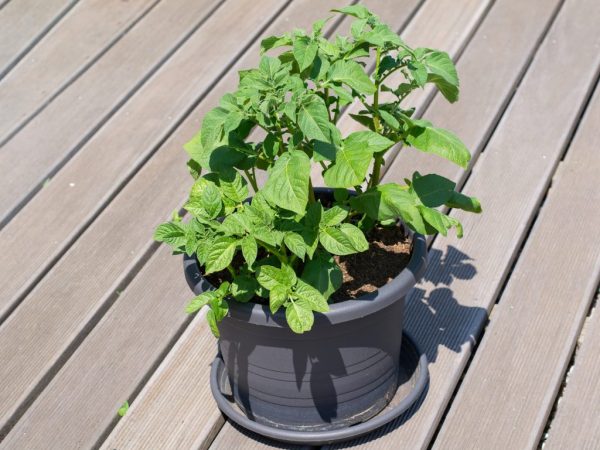
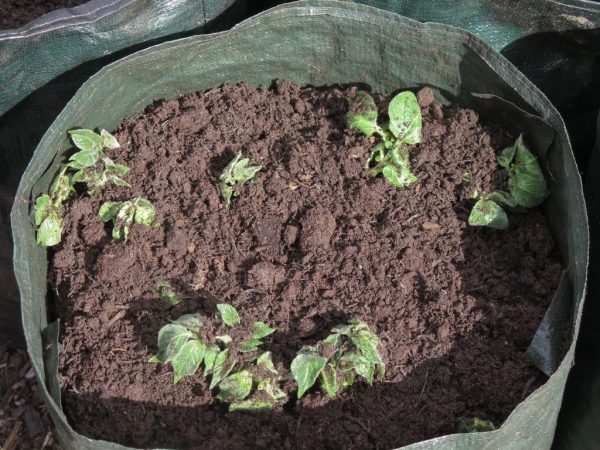
Methods of growing potatoes in bags, boxes, barrels, buckets are often used. It is desirable that the container is large enough. The improvised garden bed should be in a well-lit place.
This method is ideal for city dwellers. Vegetables can be grown in pots or buckets right on the balcony. The main thing is that the land is light and fertile. You can buy a pack of earth at a flower shop.
Watering the plant with this technology should be regular, but not flooded. For top dressing, which is carried out no more than 1-2 times a week, it is best to buy ready-made mineral approvals. If the plant lacks nutrients, it will begin to take on an unhealthy color. Pay attention to this.
Garden bed care
Proper care and good conditions are the key to a generous harvest. A few weeks after planting, you need to start caring for the beds. Let's figure out what are the benefits of the basic procedures.
| Procedure | How is | What is it for |
| Loosening | Rake. A couple of cm deep. | Helps kill small weeds and provides oxygen. Best done after rains. |
| Hilling | A hill of earth is scooped up to the tops. Sprayed with water and covered with dense material. | For the first time, you need to do it when the tops grow by 12 cm. The second time - after 14 days. Helps protect the plant from frost and disease. |
| Watering | It is watered additionally if there is no rain, or when growing in an apartment. | A crop needs moisture to grow well. But in no case should the earth be poured until puddles form. |
| Top dressing | Fertilizer is diluted in the correct proportions in the water. | For better and faster growth. |
Disease prevention
Typically, treatment is carried out about five times over the entire period. The first step is prevention, because it is easier to save a plant from disease than to cure it. Be sure to carefully monitor the appearance of pests.
The most common problem for gardeners is the Colorado potato beetle. This outwardly cute insect eats the leaves of the crop, preventing it from growing well, and then killing it altogether. Experienced gardeners say that the best way to deal with Colorado is to pick them by hand. But this method is not very reliable. You can always lose sight of the bug and then all the work done will be in vain. It is better to carry out chemical treatment, adhering to safety rules.
The wireworm is a pest that you will not encounter if you have been preparing the ground in the fall. Plowing brings the bugs to the surface and they die from the frost.
Useful Tips
Despite the huge amount of information on the network, many novice gardeners have questions that we will try to answer.
How to bury tubers
It is important not to throw the tuber at random, but to plant the side with the largest number of eyes up. The depth depends on the type of soil: if it is heavy, then you should not bury it deeper than 5 cm; if easy - all ten.
Which tubers are suitable for planting
It is necessary to select beautiful, even fruits. If there is a shortage, you can cut the fruit, but only keeping at least 2 eyes on each part. It is better to moisten the knife in potassium permanganate before cutting.
At what distance to make holes
The standard fit is 30 cm apart and approximately 60 cm between rows.
When to start planting
Usually they start planting a vegetable in April, when the air temperature warms up to ten degrees Celsius. It is important to see if there will be frosts soon. If, nevertheless, frost occurs, hilling helps to save the plant.
Conclusion
You may or may not like potato crops, but it is a really important staple in the diet. It surpasses our favorite vegetables in many ways: it is rich in potassium, which supports the cardiovascular, neuromuscular systems, and the correct water balance; it contains a lot of vitamins C and B, as well as various amino acids. With the help of juice, you can improve the general condition of stomach ailments.
Fortunately, everyone can have their own harvest of such a vegetable. It is enough to have a great desire and minimal costs.


